The iguana pushup looks deceptively simple. At first glance it seems as if it wouldn’t be much different from a narrow / diamond pushup. That is until you try it.
In this tutorial, I will explain why the iguana pushup is so challenging, and then I’ll teach you how to do it.
Why Iguana Pushups Are More Difficult Than They Look
When many people first look at the iguana pushup they naturally associate it with the more standard narrow grip pushup – often referred to as the diamond pushup. However, the instability factor is what makes iguana pushups much more challenging compared to standard narrow pushups.
To put it in perspective, imagine trying to balance an upside down triangle.
That’s very similar to what you have to when attempting the iguana pushup. But then on top of it, you also have to maintain that stability throughout the full range of motion.
So it’s not just an upside down triangle – it’s a moving upside down triangle!
It requires a lot of full body tension and is quite demanding on the forearms as well.
Despite its inherent difficulty, I would consider it an intermediate pushup, though probably in the upper range of intermediate level.
Now let’s talk about execution.
How to Do an Iguana Pushup
Iguana pushups can be performed on any thin surface. The back rest of a public bench works well. Alternatively, a railing that’s long enough to fit the height of your body makes another good choice for attempting the iguana.
The first step is getting into place.

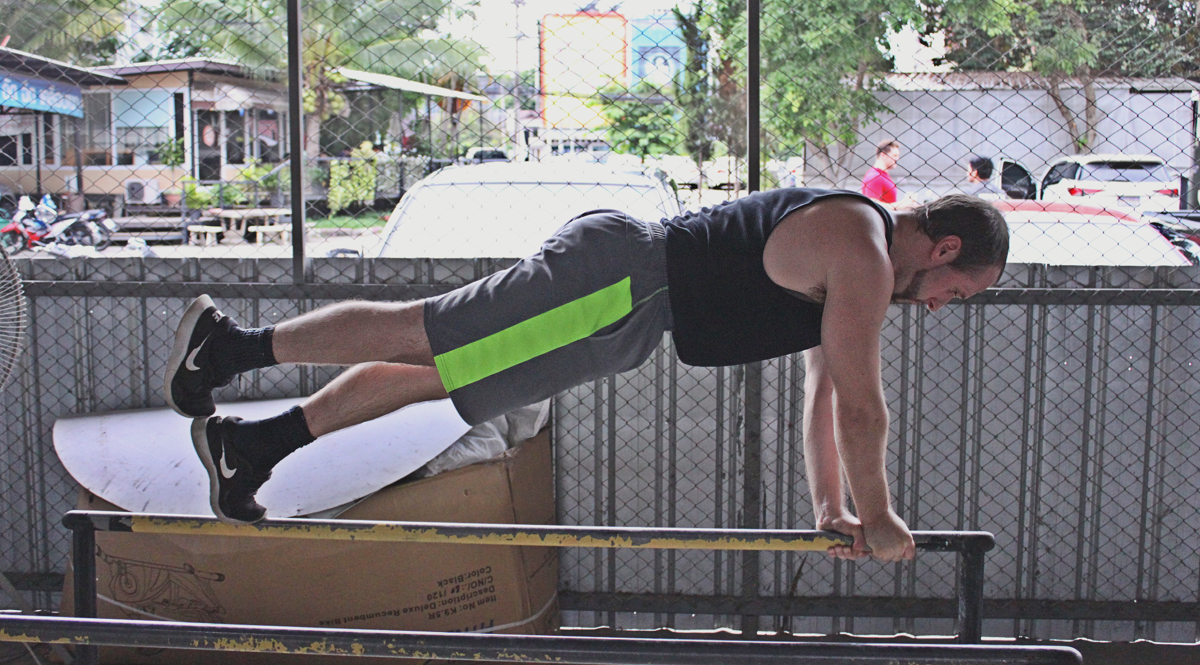
Top position: Stacked feet, balanced hand position
This requires you to stack one foot on top of the other, so that the toes of the top foot are touching the heel of the bottom foot, which in turn is making contact with your surface of choice (bench, railing, etc).
Your hands can be placed either one directly in front of the other (easier), or in the same spot with palms facing each other (harder).
On a railing you can interlace your fingers to achieve this.
On a bench you can rest the bottom of your palms on either side with your thumbs pointing forward and somewhat resting on top of the thin surface area. The rest of your fingers will be on either side and pressing inward for stability.
Once you have a solid iguana plank hold by following the above, you can try to begin the eccentric (lowering) portion of the iguana pushup. Make sure to keep everything tight and be very conscious of your balance. Begin to lower slowly.
When you first try it, you might not be able to complete a full range of motion rep – and that’s perfectly fine. Go down to a comfortable level and then attempt to press back up.
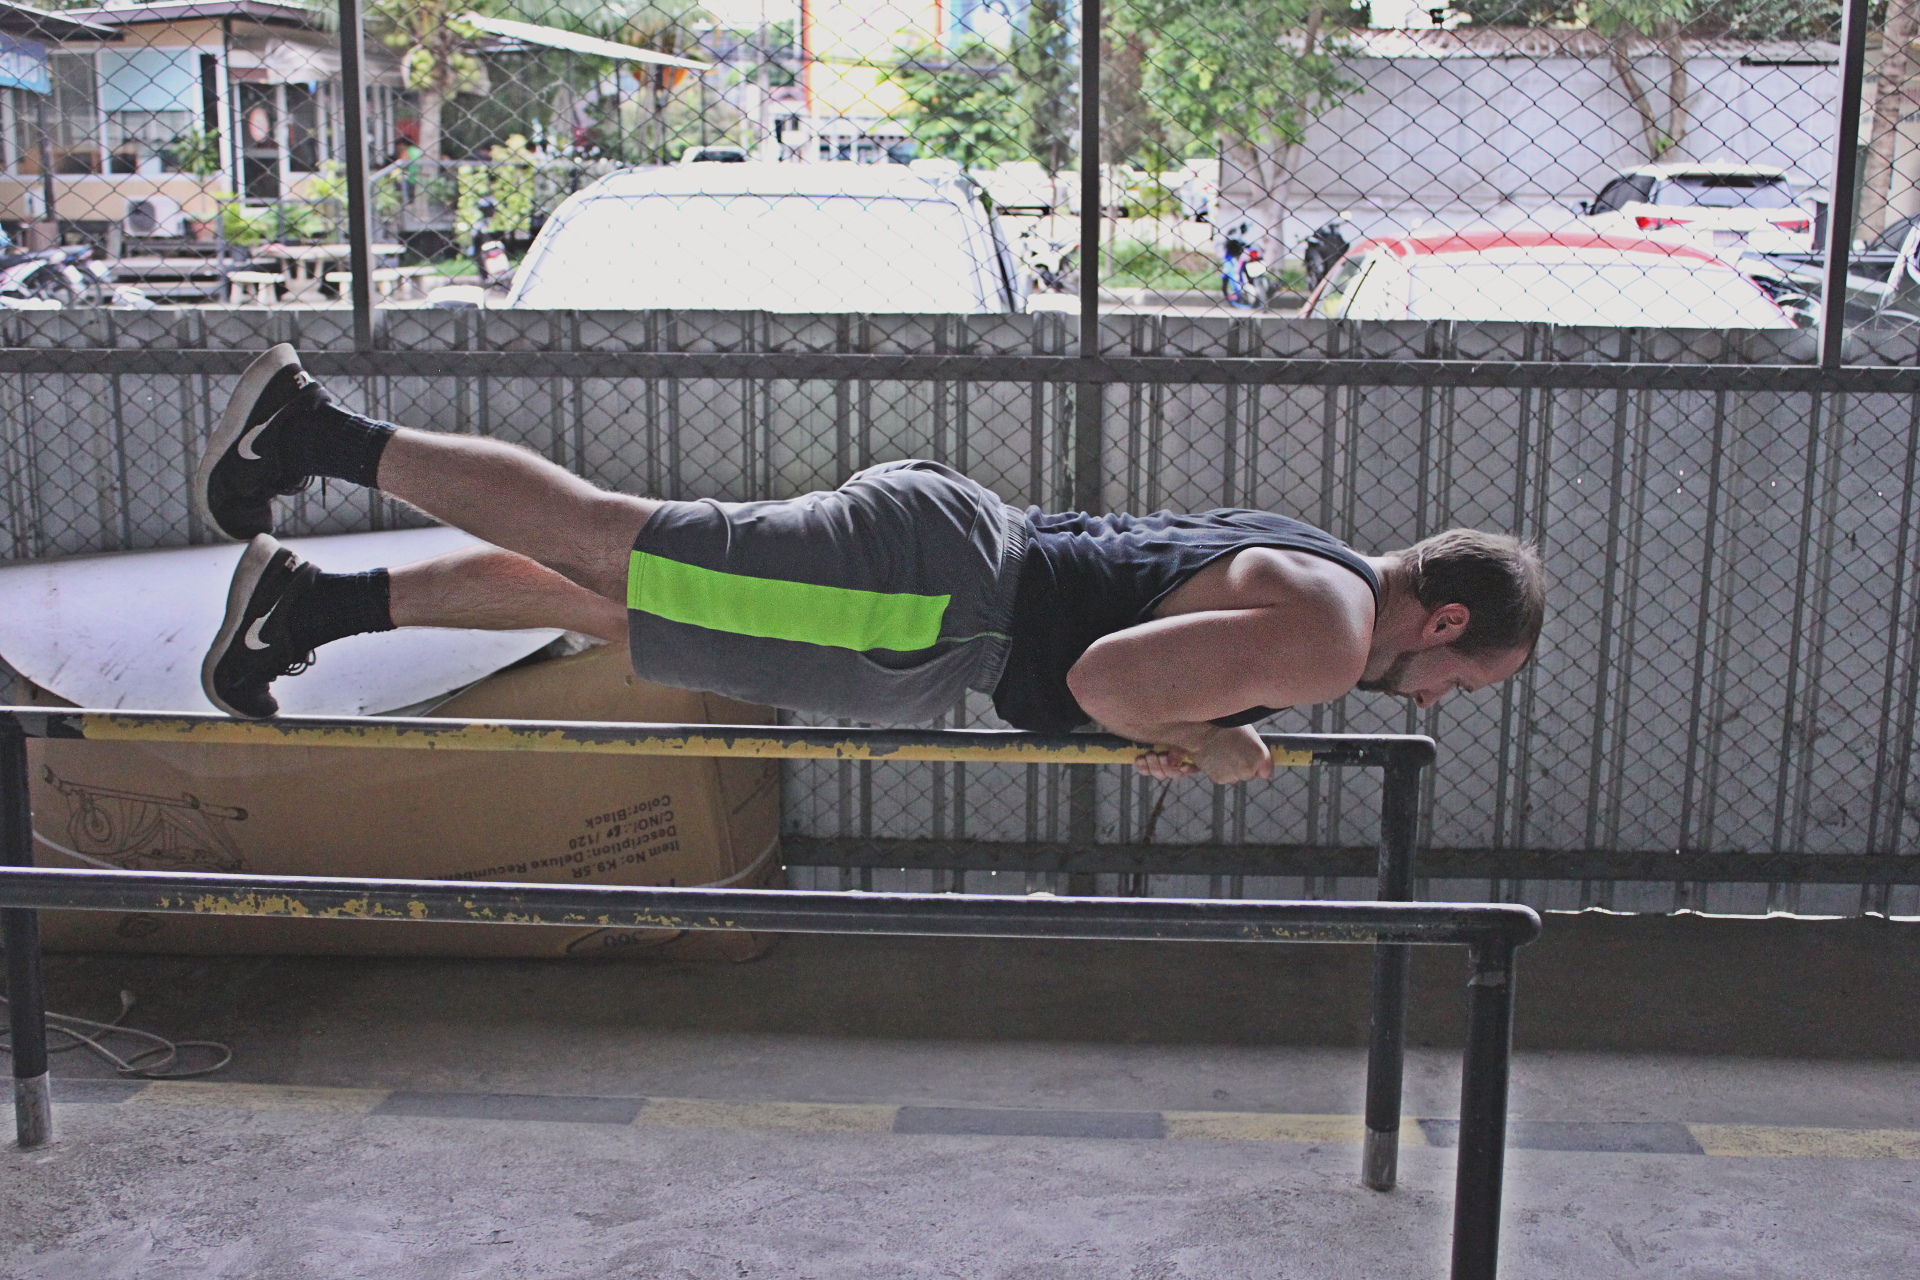
Bottom position: Maintaining balance through full range
Try a few partial reps, take a rest, and then on your next set attempt to go a little lower.
Depending on how advanced you are, by the end of a few sets, you might be able to make it all the way down to touch your chest to your hands and press back up. If you can, that’s awesome! If you can’t, that’s also awesome, because at least you started the process. Keep practicing and before you know it, you’ll be making them look easy.
Closing Thoughts
Iguana pushups are a unique movement that is sure to challenge you. Aside from having enough pushing strength to do them, you will also need a lot of core and forearm strength to maintain your stability throughout the range of motion.
Give them a shot!
If you follow these progressions and you end up doing your first iguana pushup, post it on Instagram and tag @kalisthenics_nomad and #CalisthenicsNomad for a possible repost.