The reason this section is named playing with hands is because apart from what the hands are doing, the following three pushup variations are almost identical to the classic pushup.
It’s worth noting that while the adjustments are made using the hands, there are some other effects that occur as a result of that. For example, the knuckle and fingertip pushups increase the range of motion (deeper pushup), while the wrist pushup actually shortens the range.
It’s interesting to think that just by making some changes to the way you position your hands can affect the functionality of the exercise.
Each of these variations has its own slew of benefits that make them worthy of incorporating into a training regimen.
Many people who can perform a classic pushup will find the knuckle pushup to be pretty easy and will get it on their first try. The fingertip pushup is less approachable and grows increasingly more challenging if you choose to undertake the Bruce Lee path of eventually getting the two-finger pushup. Lastly, the wrist pushup is one that the majority of people probably won’t be able to get on their first try.
I’ll go over all three below and then discuss a strategy you can use that will allow you to achieve them. Since they all involve adjusting just your hands, the way you can build up to them is exactly the same. This is convenient from a learning standpoint because you really just need to understand the concept and then tweak it for each variation.
Table of Contents
- Knuckle Pushups
- Fingertip Pushups
- Wrist Pushups
- The Progression Strategy for All Three
- Final Thoughts
Knuckle Pushups
Knuckle pushups have two main advantages:
-
As was mentioned earlier, they allow for a deeper range of motion than the standard palms down pushup.
-
For people with wrist mobility issues, they are more comfortable because you don’t have to bend backward at the wrist as you do in a regular pushup.
They are also relatively easy to approach if you already have the prerequisite strength to do normal ones. There are only two slight challenges.
The first is that because your closed fist is a smaller surface area than your open hand, the balance is technically a little bit more difficult. As long as you do them properly though, it shouldn’t be too much of an issue.
What is properly?
Properly is not to make a lazy fist where your hand is loose and relaxed. You can actually injure your wrist this way. Make sure that your hands are tight and that you are generating tension.
The second potential challenge is that some people may experience discomfort if they aren’t used to having their bodyweight supported on their knuckles. If that’s you, make sure you read the progression strategy at the bottom of the page. That should get you over the feeling gradually and you’ll be doing knuckle pushups before you know it.
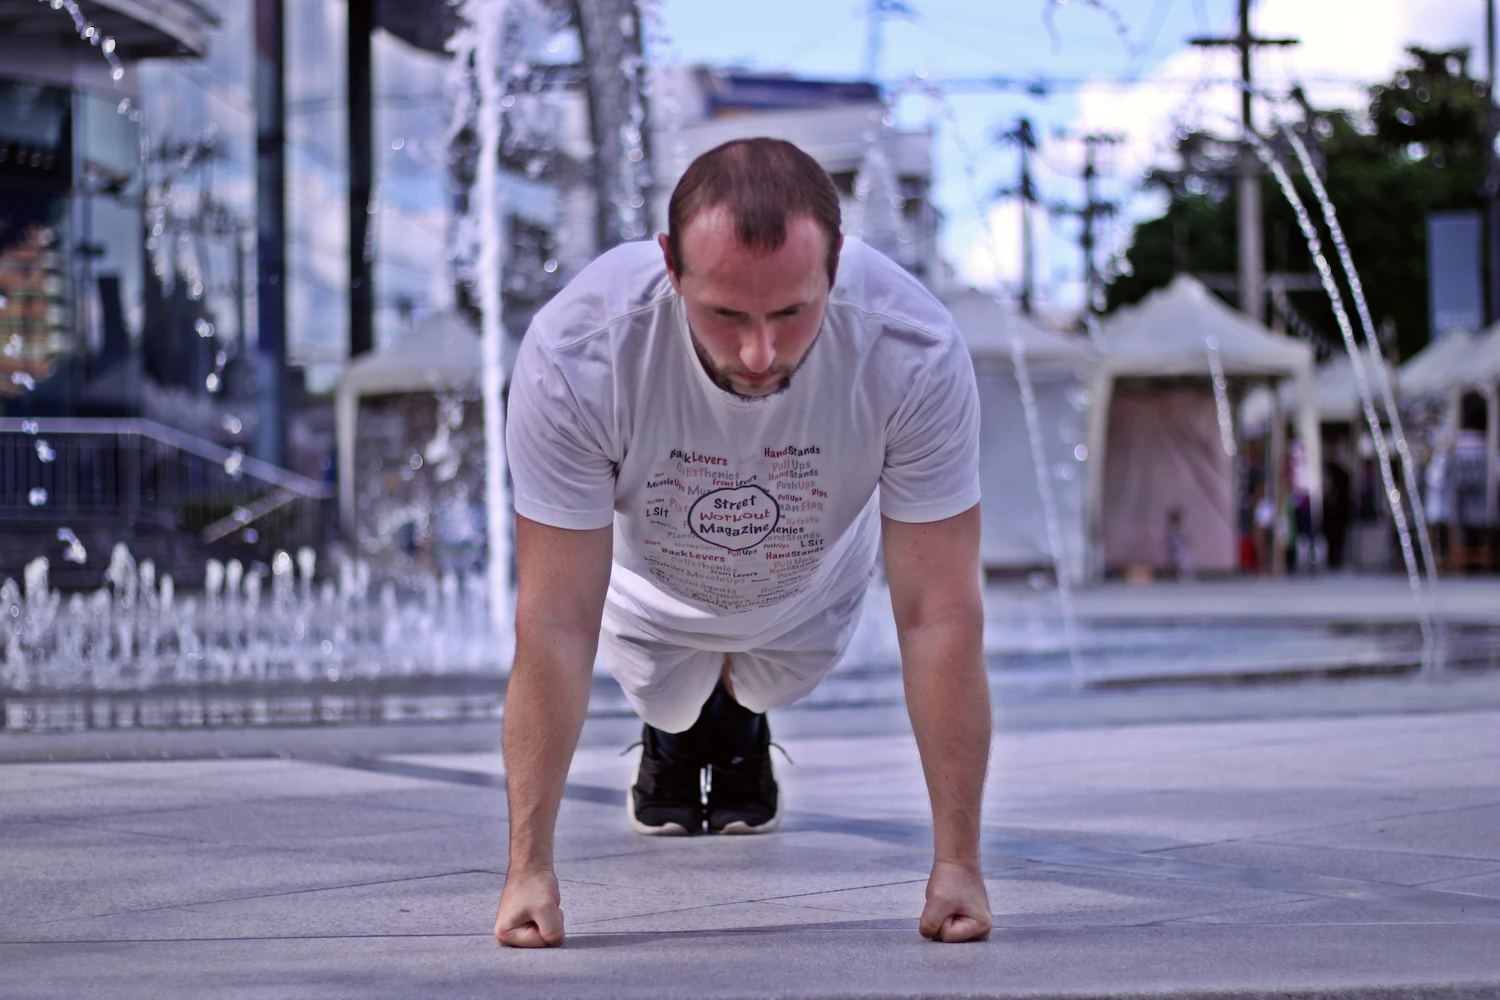
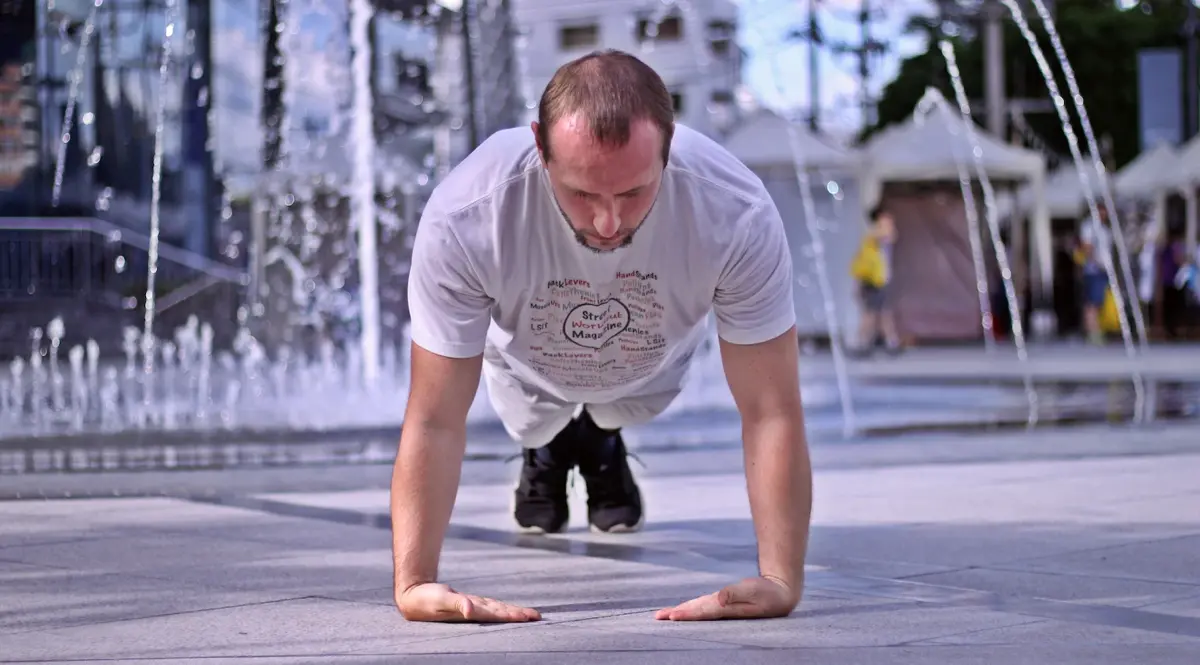
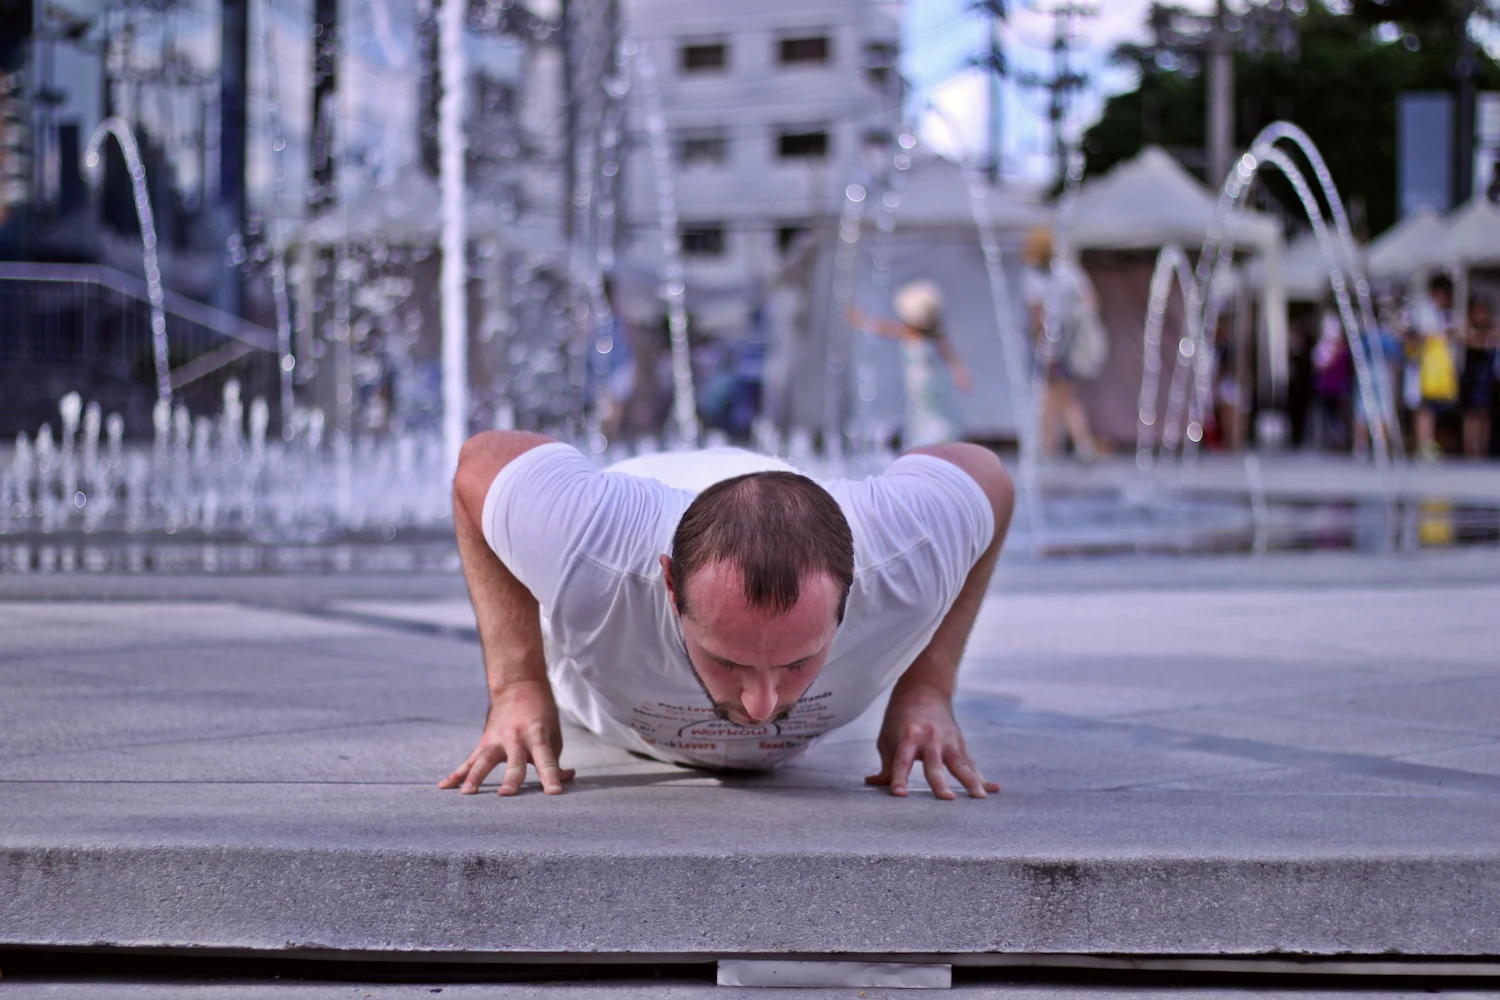
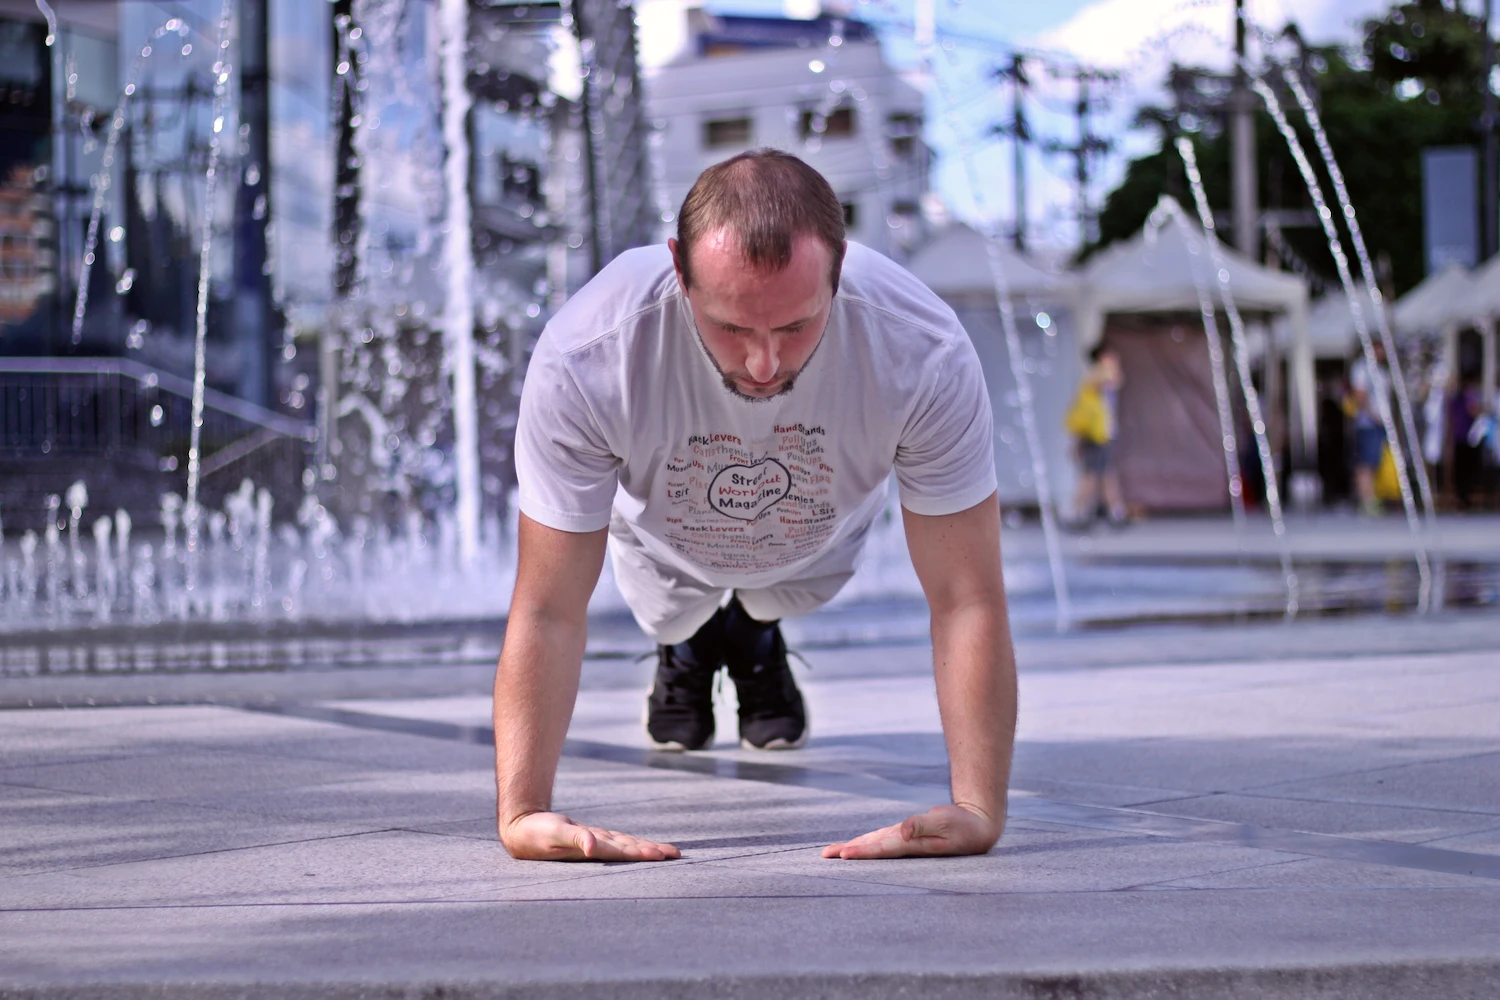
Top position: Tight fists, generate tension
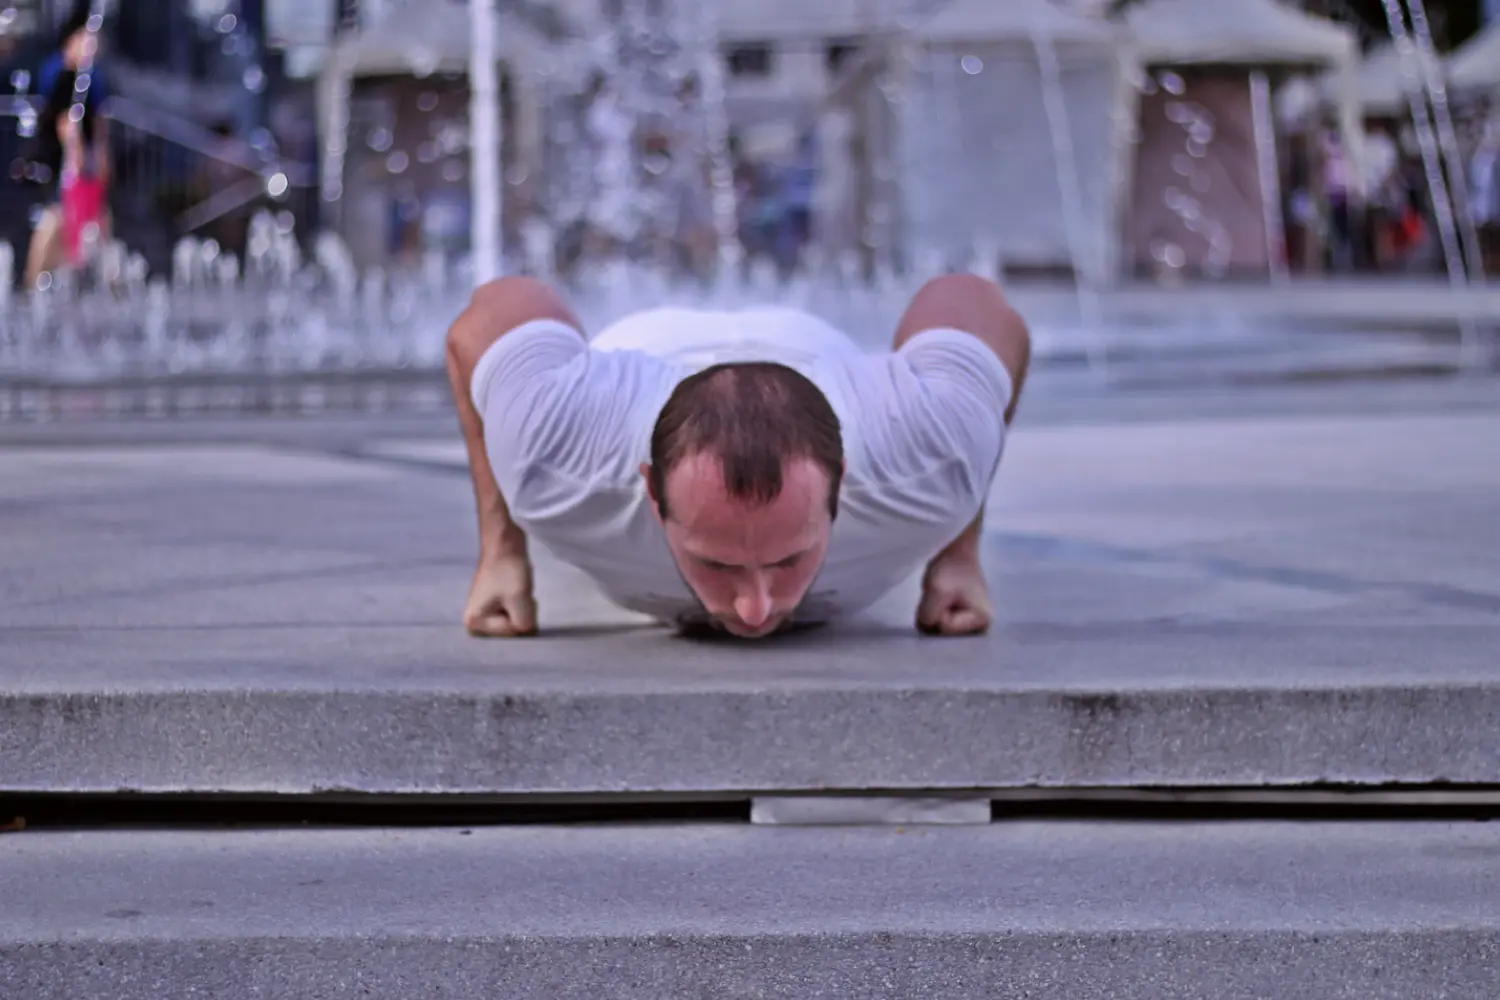
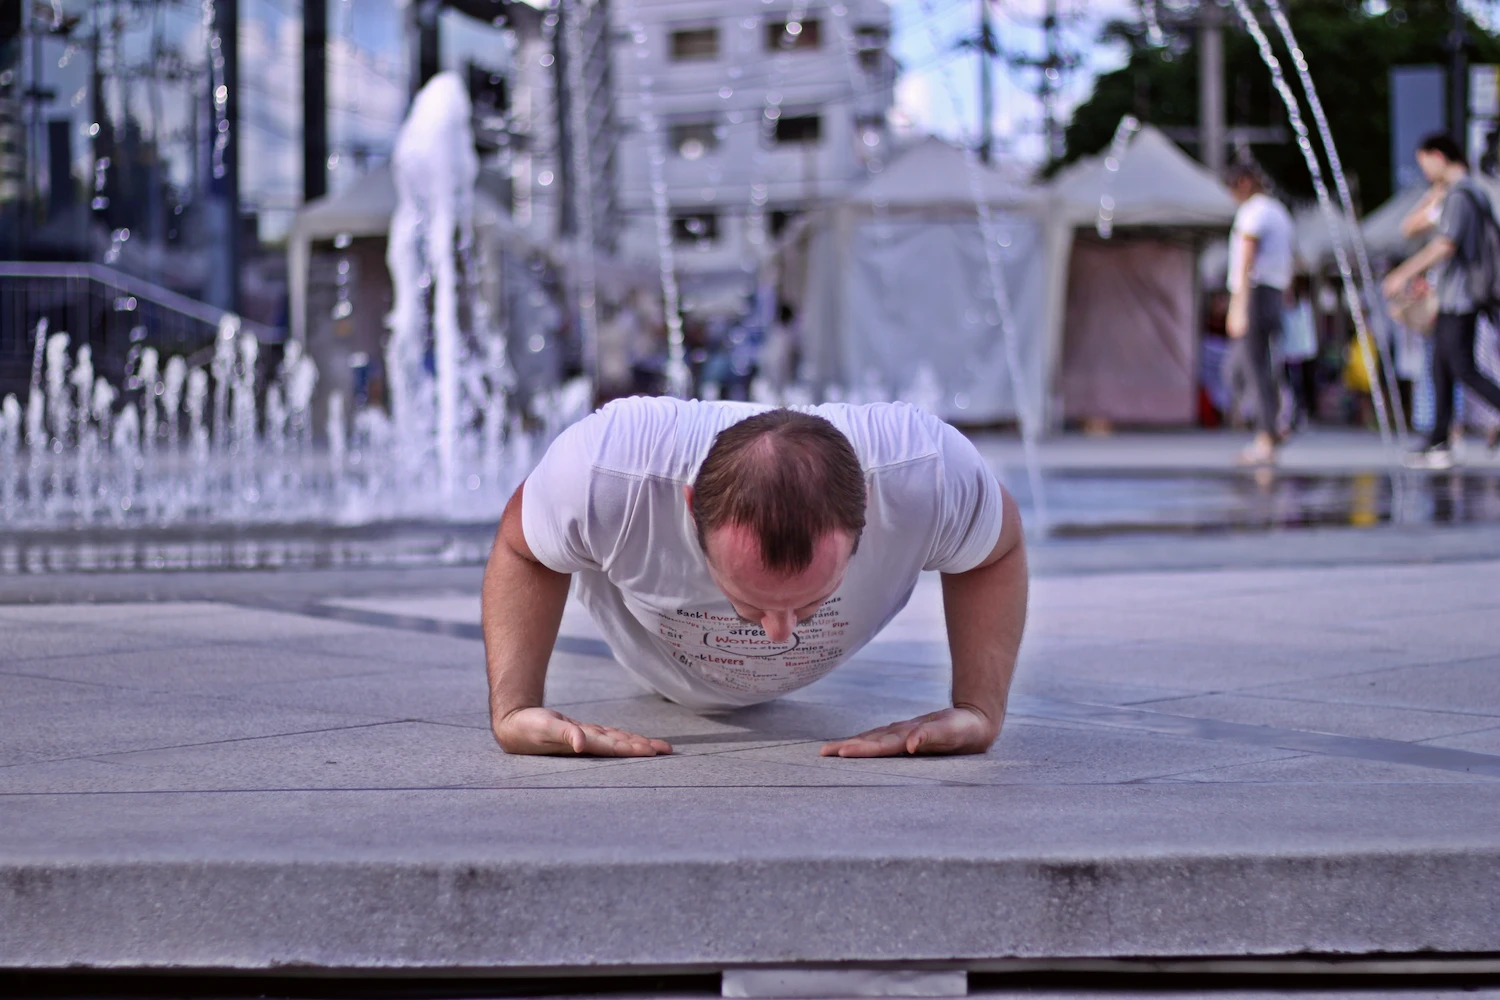
Bottom position: Deeper range of motion
Fingertip Pushups
Fingertip pushups are an excellent exercise with immense benefits that are almost completely different from standard pushups.
Being that they are pushups, they do work your chest, front deltoid and triceps, but this isn’t why we do them.
The true benefit from the fingertip pushup is in the way it strengthens the flexors and extensors of your hands / forearms.
Unless you are some freakish grip training specialist, chances are that these tiny muscles will fatigue on you way before your chest, delts and triceps will. That’s why fingertip pushups are a unique exercise with a very specific purpose that has very little to do with regular pushups.
They not only look badass, but when utilized properly can help strengthen your grip which is useful for other things. They are definitely an exercise that you should keep in the tool kit and utilize from time to time.
If you practice martial arts or any other sports that require a killer grip, they should probably be used more often than by just a regular weekend warrior.
If you really want to go down the rabbit hole with these, you can try to keep removing digits until eventually you get to just the two finger pushup. This will require some dedicated training though, and you’ll have to not only master the fingertip pushup itself, but also the one arm pushup too.
Feel free to combine what you learn in the strategy at the bottom of this page with the one arm pushup tutorial if this is something you’d like to pursue.
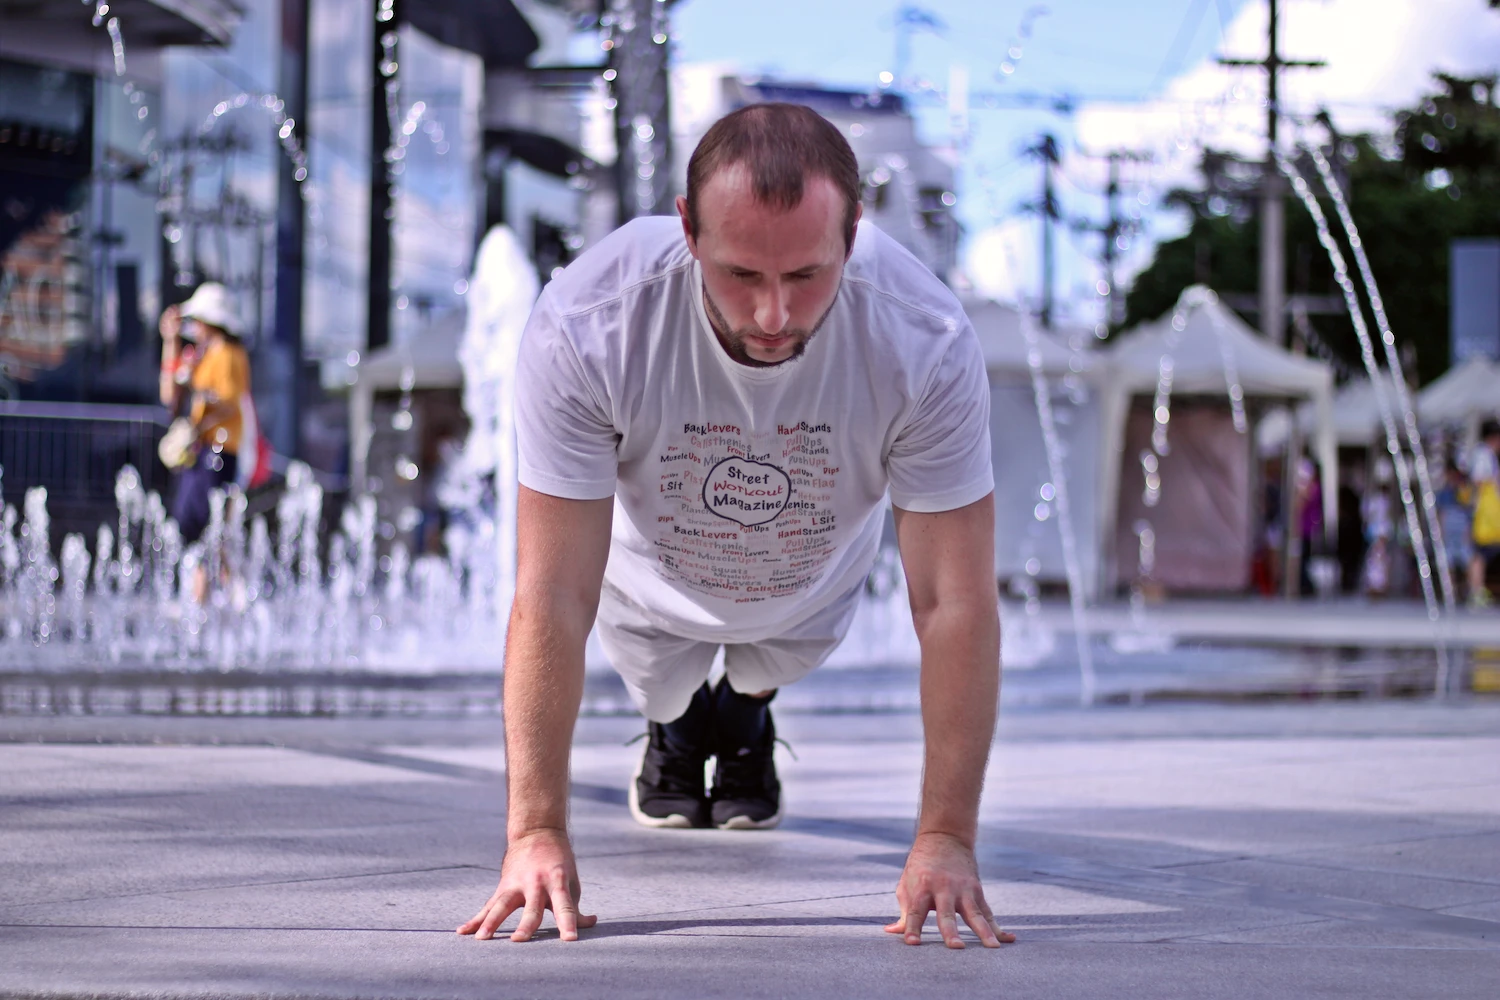
Top position: Weight on fingertips only
Bottom position: Grip strength challenge
Wrist Pushups
A popular pushup variation among boxers, martial artists and gymnasts, the wrist pushup is one that is still largely unknown to the general fitness population. When many people see it for the first time they immediately give off an instinctual cringe sound usually accompanied by an equally uncomfortable looking face.
While the wrist pushup does look like it would break your wrist, when progressed to carefully, it will actually have quite the opposite effect. This is exactly why boxers, etc use it in their training regimens – it builds iron wrists.
People in combat sports who frequently strike with their hands need to prep their wrists for impact and wrist pushups are an excellent way to do so.
For bar athletes who perform handstands and other movements that place demand on the wrist, these pushups are a great insurance policy to stay healthy.
In the images below, you can see the most common way that people place their hands when doing these, but there are other ways. Pretty much any direction you can face your hands while resting on the back of the wrist are an option.
A lot of these variations are fun to incorporate into a floor game freestyle and you can get as creative as you want. For our purposes here though, we will stick to the basic version.
One other thing to note is that for the purposes of demonstration, the picture showing the bottom of the range of motion does not show the complete bottom. If I went all the way to the bottom, you wouldn’t be able to see my hands that well. So for demonstration purposes I intentionally hovered where you see me. However, when doing these on your own, you should go chest-to-floor just as you normally would.
Top position: Weight on back of wrists
Bottom position: Builds wrist strength
The Progression Strategy for All Three
The way to achieve all three of these is actually quite simple. It’s just gradual weight exposure. Remember not to rush the process. Listen to the feedback your body gives you and progress accordingly.
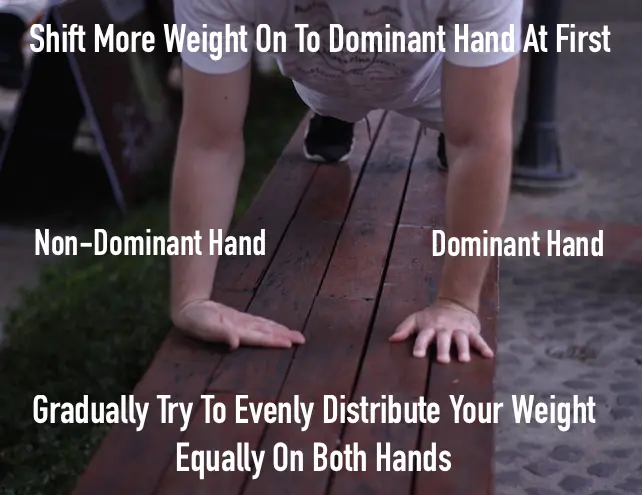
First a quick definition so we’re all on the same page. When reading the instructions below, we will refer to ‘the dominant hand’ and the ‘non-dominant hand.‘
The dominant hand is the one that assumes a standard palms-on-the-floor position as in a regular pushup.
The non-dominant hand is the one where you are adjusting to whichever one of the three pushup variations you are trying to achieve – so either knuckle, fingertip, or wrist. See picture below the instructions.
Step-by-Step Progression:
-
Assume a standard pushup / high-plank position.
-
Change one of your hands into whatever one of the three pushups you are working on and keep the other hand the same.
-
Distribute the majority of your bodyweight onto the dominant hand.
-
Begin by just holding a plank for a little while. Do a few sets of planks and mentally start playing around with slowly distributing more weight onto the non-dominant hand. Make sure you alternate hands on each set so that each hand gets a turn being dominant / non-dominant.
-
When you are ready, try a slow pushup. Again, keeping more of your weight on your dominant hand to start.
-
If that feels good, then the next time you try it, you can shift more weight onto the non-dominant hand. Eventually you want to reach the point where your bodyweight is equally distributed between dominant and non-dominant side, and your feet are completely together.
-
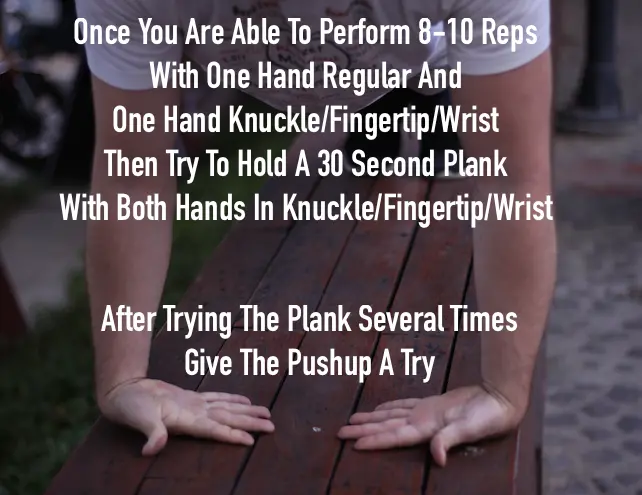
The next step is to try placing both of your hands into position – whether it’s knuckle, fingertip or wrist. Begin with a plank hold here as well.
-
Once you can comfortably hold a plank for at least 30 seconds then you can proceed to trying a pushup.
Also, remember the straddle principle here. The wider you straddle your legs, the easier the pushup becomes. It helps to start in a wide straddle until you get a feel for what your non-dominant hand is going through. As you get more comfortable you can start bringing the legs closer together. You can do this for each stage of the progression if it helps.
Step 1: One dominant, one non-dominant hand
Step 2: Progress to both hands modified
Final Thoughts
That’s all there is to it. It might not be easy for some of you – particularly the wrist pushup – but it is simple to understand I believe.
It just takes time for the bones, joints, tendons and ligaments to adapt to the weight so make sure you give them that time. Don’t rush through the steps. Make sure you spend enough time in each one so your body adapts.
If you need additional help or want to incorporate these into a structured training program, please don’t hesitate to reach out.
If you use this guide to achieve your first knuckle, fingertip or wrist pushup, please tag @kalisthenics_nomad and #CalisthenicsNomad in your success post on Instagram. I may even repost it to feature you!